Contents
Its been a while since I've written anything. Caused by a combination of lock down apathy, work pressures (building a dev shop during covid-19 lockdown is fun..) and a bit of long overdue DIY projects since "you've got nothing else to do as running and music events are cancelled.."
Furthermore, since I've been taking an enforced break from playing in sessions (Zoom/remote sessions really suck), I've been trying to find escape routes to keep myself interested and sane. To cut long story short, stumbled across a number of YouTube videos (links below) from people that had created their own modular synths. I've never indulged in modular before as I've always been a fan of 80's polysynths and ultimately since I moved to software synthesis 10 years ago, I've not really had any overwhelming desire to go back to hardware.
However, something piqued my interest, and as an enthusiastic electronics hobbyist (who's heart is in software). With soldering iron in hand, I quickly disappeared down the rabbit hole..
Rules
I'd decided to work to a few basic rules:
- Eurorack format, specifically; 3U high panels and typically 4HP or 8HP width, 3.5mm mono jacks for patching, 5v logic level and -12/+12v for op-amp circuits
- TTL/IC's are fair use, but avoid whether possible using Arduino/Attiny or microcontrollers and even when, only use for voltage control rather than part of audio signal path
- As above, but specifically: keep the signal path analogue
- Make/build as much as possible.
I've managed to pretty much met the above, with the following exceptions:
- I bought a Behringer Eurorack rack unit with PSU to put the modules in, and save me from faffing with PSU (which I didn't think is a core part of the synth)
- Bought patch cables, same argument as above
- Atmega and Attiny where used for MIDI-2-CV module and for the voltage quantizer as it was simply easier. However both meet (broadly) rule 2 as they are only used for voltage control. The thought of building pure TTL for this would send me over the edge.
The panels are 4HP and 8HP Doepfer blanking plates that I bought locally in London from Juno and have been embellished with various craft beer cans to make it a bit less "silver or black fascia" boring. Also, building stuff is thirsty work!

Goal
I didn't really have an end goal in mind, other than a collection of modules that would resemble the core parts of a synthesizer:
- Voltage control for pitch and envelope control and hence to allow the synth to controlled by keyboard or sequencer and to be able to allow modules to modulate others.
- VCO: An oscillator, voltage controllable, 1x is fine, possibly with different wave forms
- VCF: Filter, again, voltage controllable, preferably the cutoff frequency
- VCA: Amplifier, again, voltage controllable, ideally with an envelop generator
- Simple envelop generator; Attack and Decay rather than fully ADSR, so use with either the VCF or VCA.
- LFO: Low frequency oscillator to modulate filter or PWM duty cycle.
Approach
Pretty fluid to be honest but:
- Start with the VCO and working out how to make noises / oscillators
- MIDI control; a MIDI to CV (control voltage) convertor to allow the primitive VCO to be played/triggered.
- Next up, the filter as that for me is the heart of a synth
- VCA + envelope generator to control the shape of the sound
- Odds and sods like mixers and MUX's to help patch stuff
- Simple 8 step sequencer so that the synth could play a melody on its own without requiring any external trigger
- Note quantiser to take the variable voltage from the step sequencer and convert it to 1v/octave scale and hence make it play in tune with stuff.
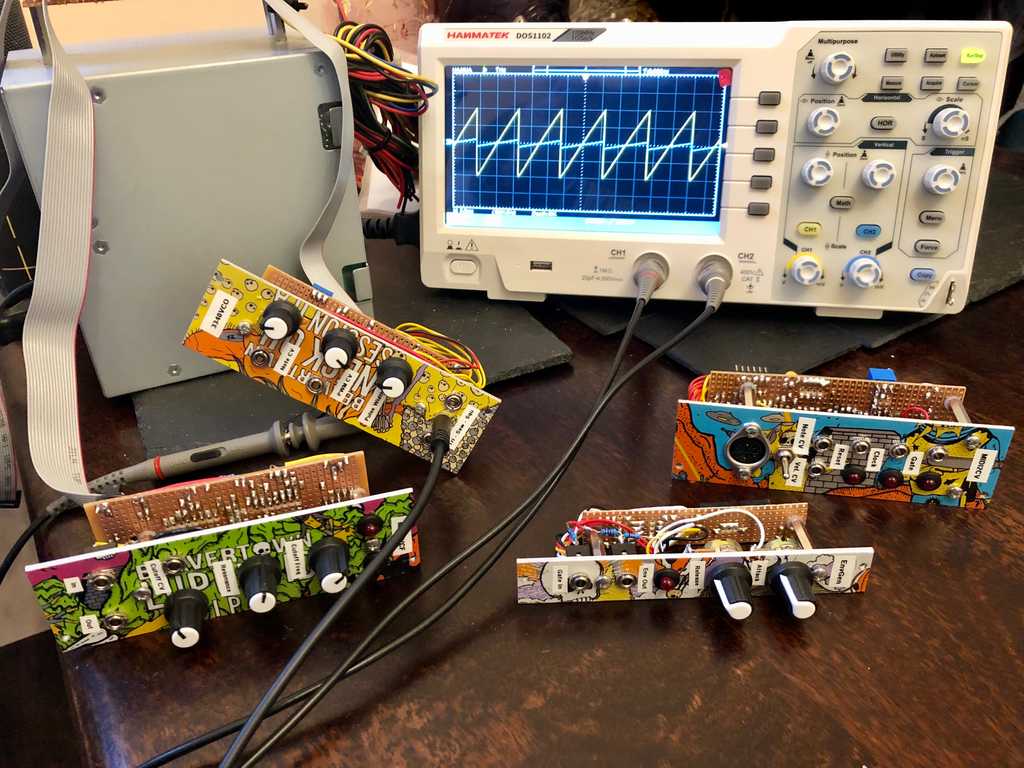
Result
Here's a short demo of the final result. I'll unpack the various modules in separate posts over the next few days/weeks, and ideally include schematics and links, since I've gleaned a load of this from other brilliant and far more clever individuals out there! Hopefully this series will inspire others to have play!


